Cloudflare Pages 自动化部署 Github 项目指南

通过 Cloudflare Pages,你可以快速将 Github 上的前端静态项目免费部署到 Cloudflare 的全球 CDN 节点,享受极速加载体验。本指南将手把手教你如何借助 Cloudflare Pages 一键式部署 Github 项目。并使用自定义域名,让你的项目立即上线!
如果你之前没有了解过 Cloudflare,推荐通过我们的介绍进行简单了解。
🚀 部署项目
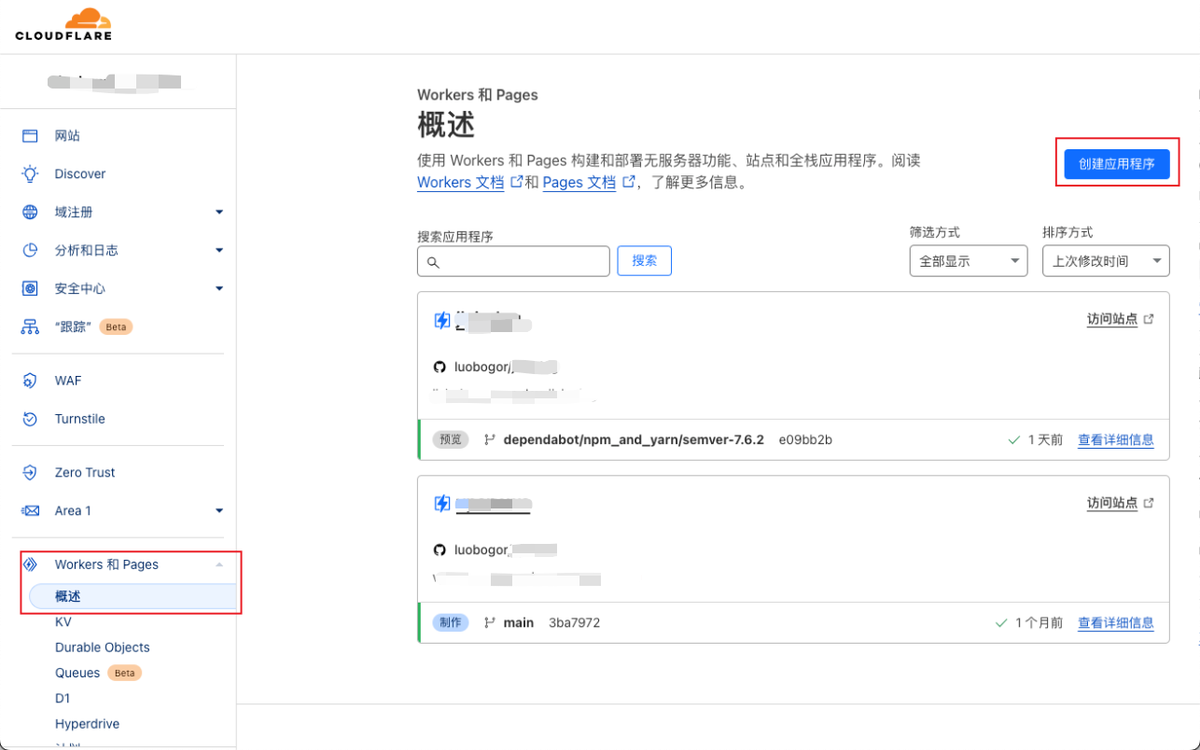
进入 Cloudflare 面板,点击按图示进入 Workers 和 Pages 面板,点击“创建应用程序”。
选择 “连接到 Git”。

点击 “添加账号”。
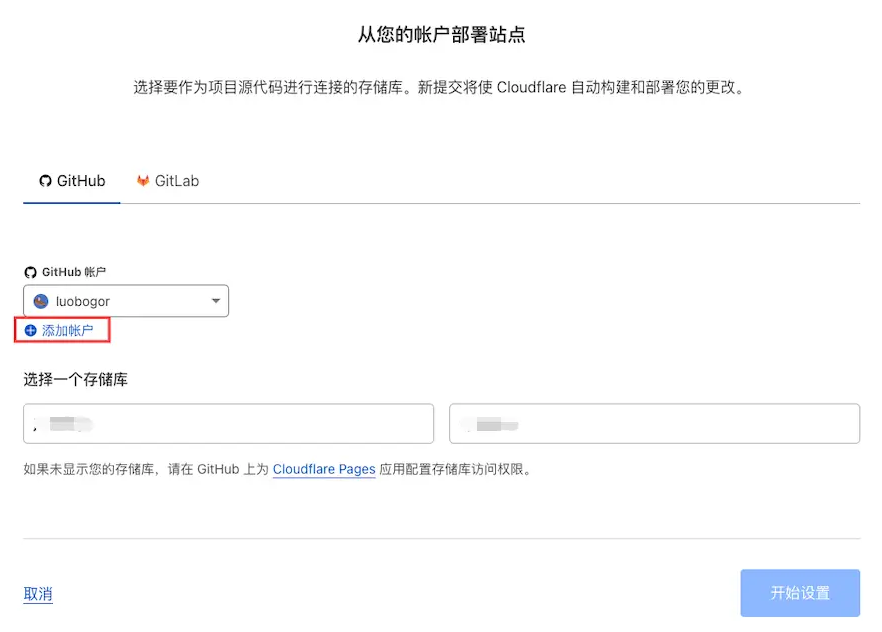
通过 Github 账号授权🔑后进入 Github 个人设置界面。你可以选择授权所有项目给 Cloudflare,或者选择部分授权。我这里选择部分授权,然后选择你要授权的项目就可以。

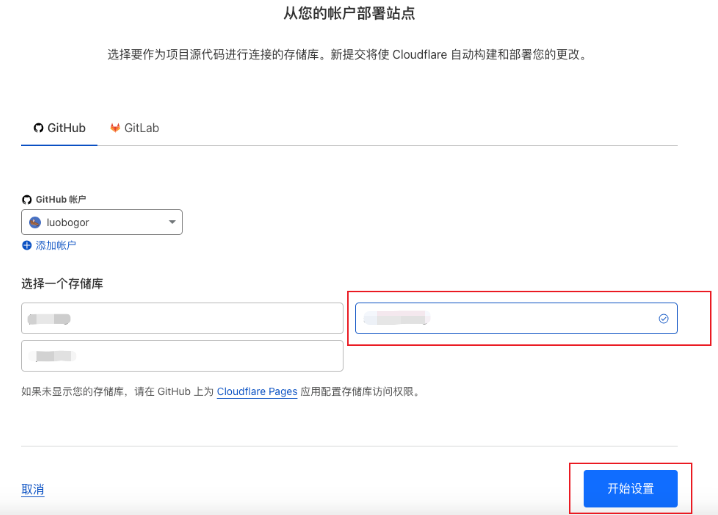
授权项目之后回到 Cloudflare 可以看到刚刚授权了的项目,选择一个你要部署的项目,点击 “开始设置”。
部署静态页面,一般设置部署分支、构建命令、构建输出目录就可以。点击“保存并部署”。

Cloudflare 开始部署,等待几分钟即可部署完成。
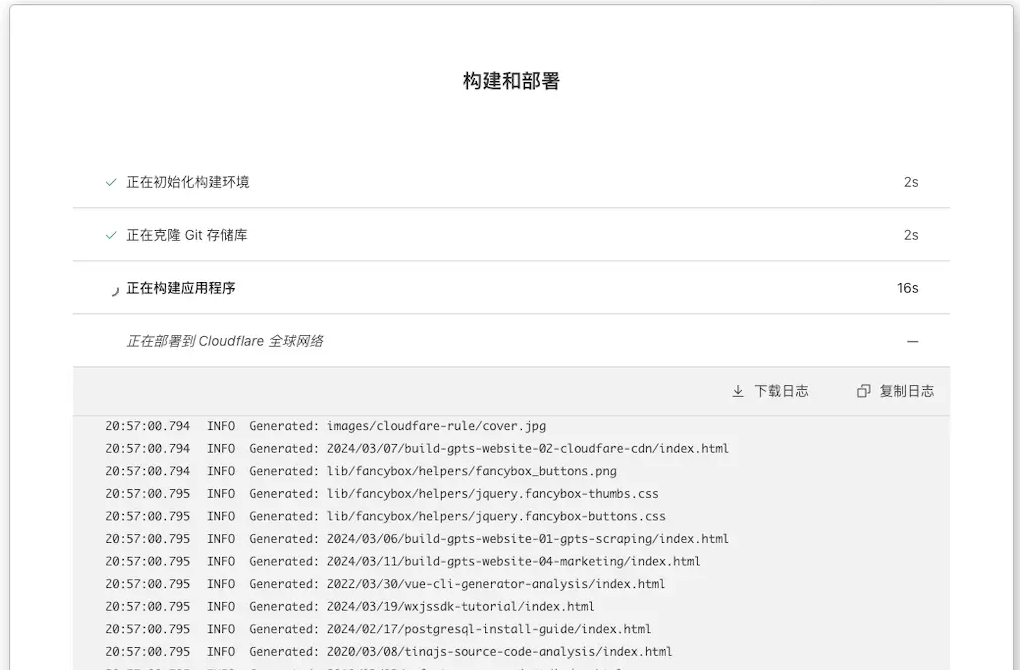
部署完成后可看到 Cloudflare 生成给我们的域名,点击就可以访问了🎉。
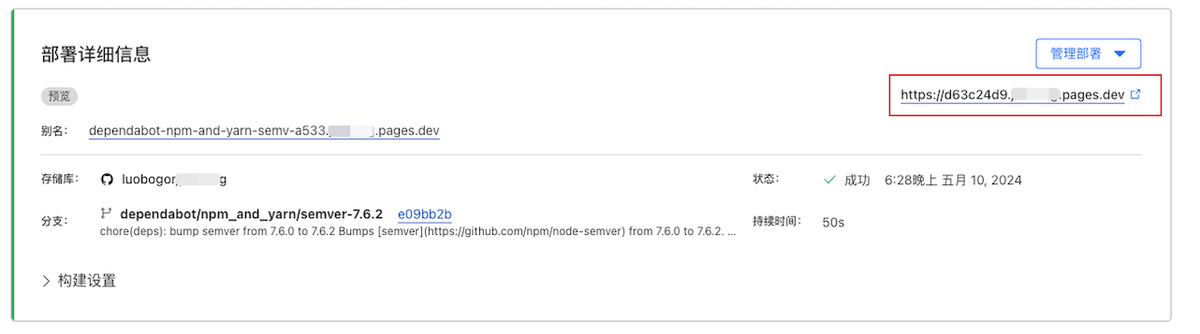
当你下次再推送代码到 Github 的时候会触发 Cloudflare Pages 自动部署,真的非常方便 ❤️。
🌐 自定义域名
进入项目,点击 “自定义域”。
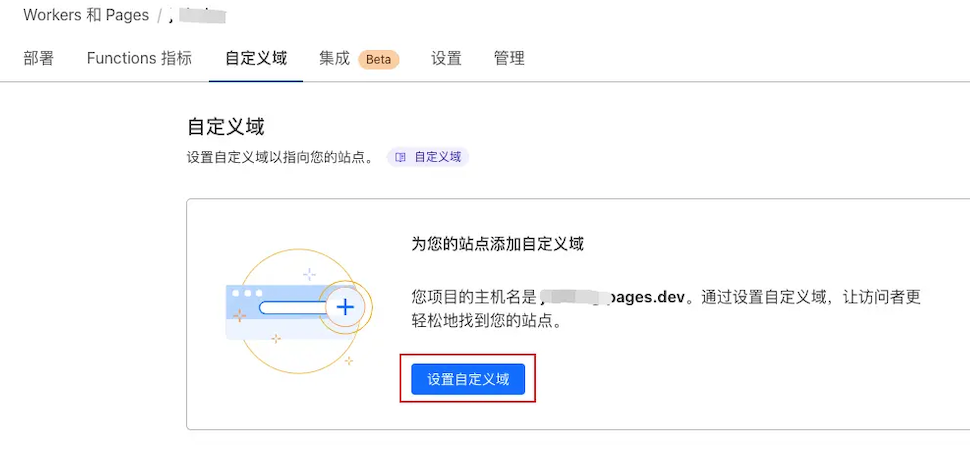
输入你的域名,点击“继续”➡️。

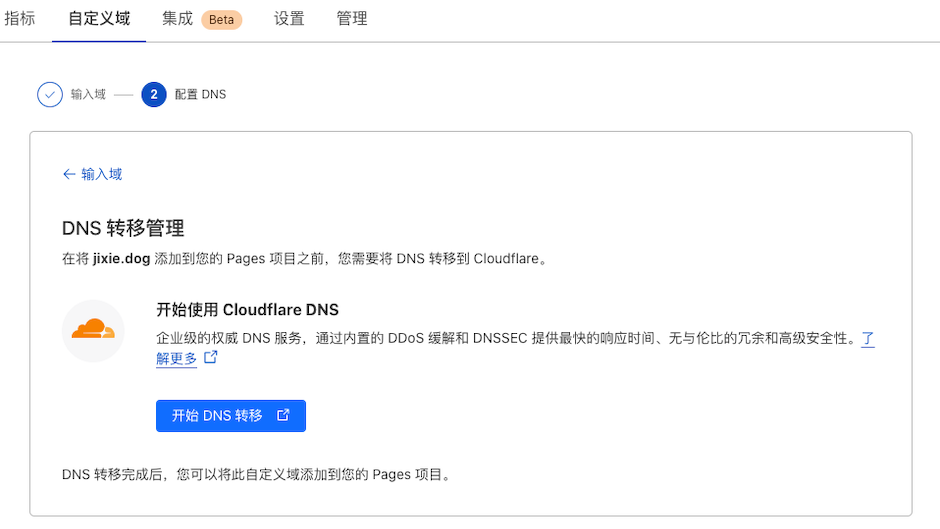
如果你的域名还没有接入 Cloudflare,会看到以下界面,点击 “开始DNS转移”。然后按照《Cloudflare 简易接入指南》进行接入。
Cloudflare 接入完成之后,再次进入配置 DNS 界面。界面就会变成下图这样,点击“激活域”。
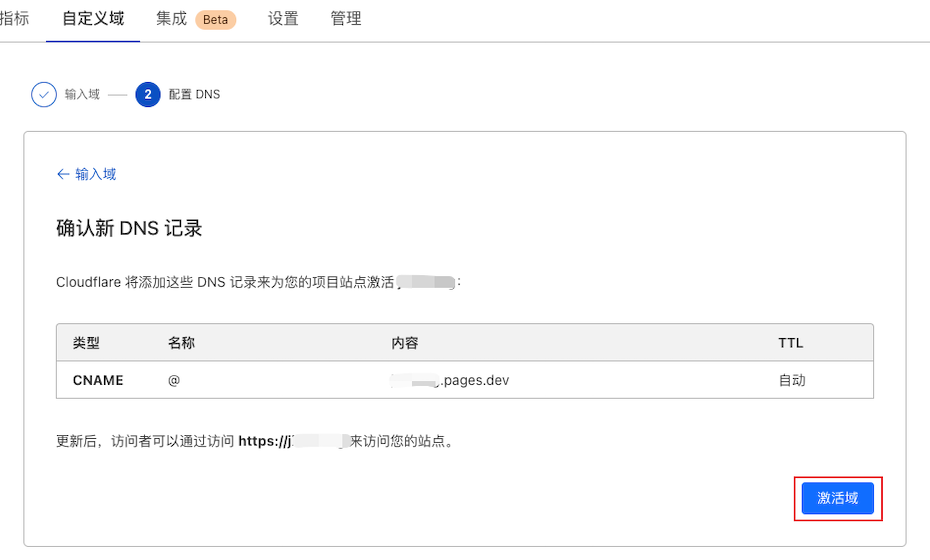
最后就是等待域名验证,Cloudflare 称 48 小时内会完成验证,实际上一般 1 小时⏱️内便可完成。

域名验证成功后,你的项目就可以通过自定义域名正式上线了🎉!
喜欢站长